Lite Saber
Lite Saber
Couldn't load pickup availability
Ultralight saw with heavyweight capability.
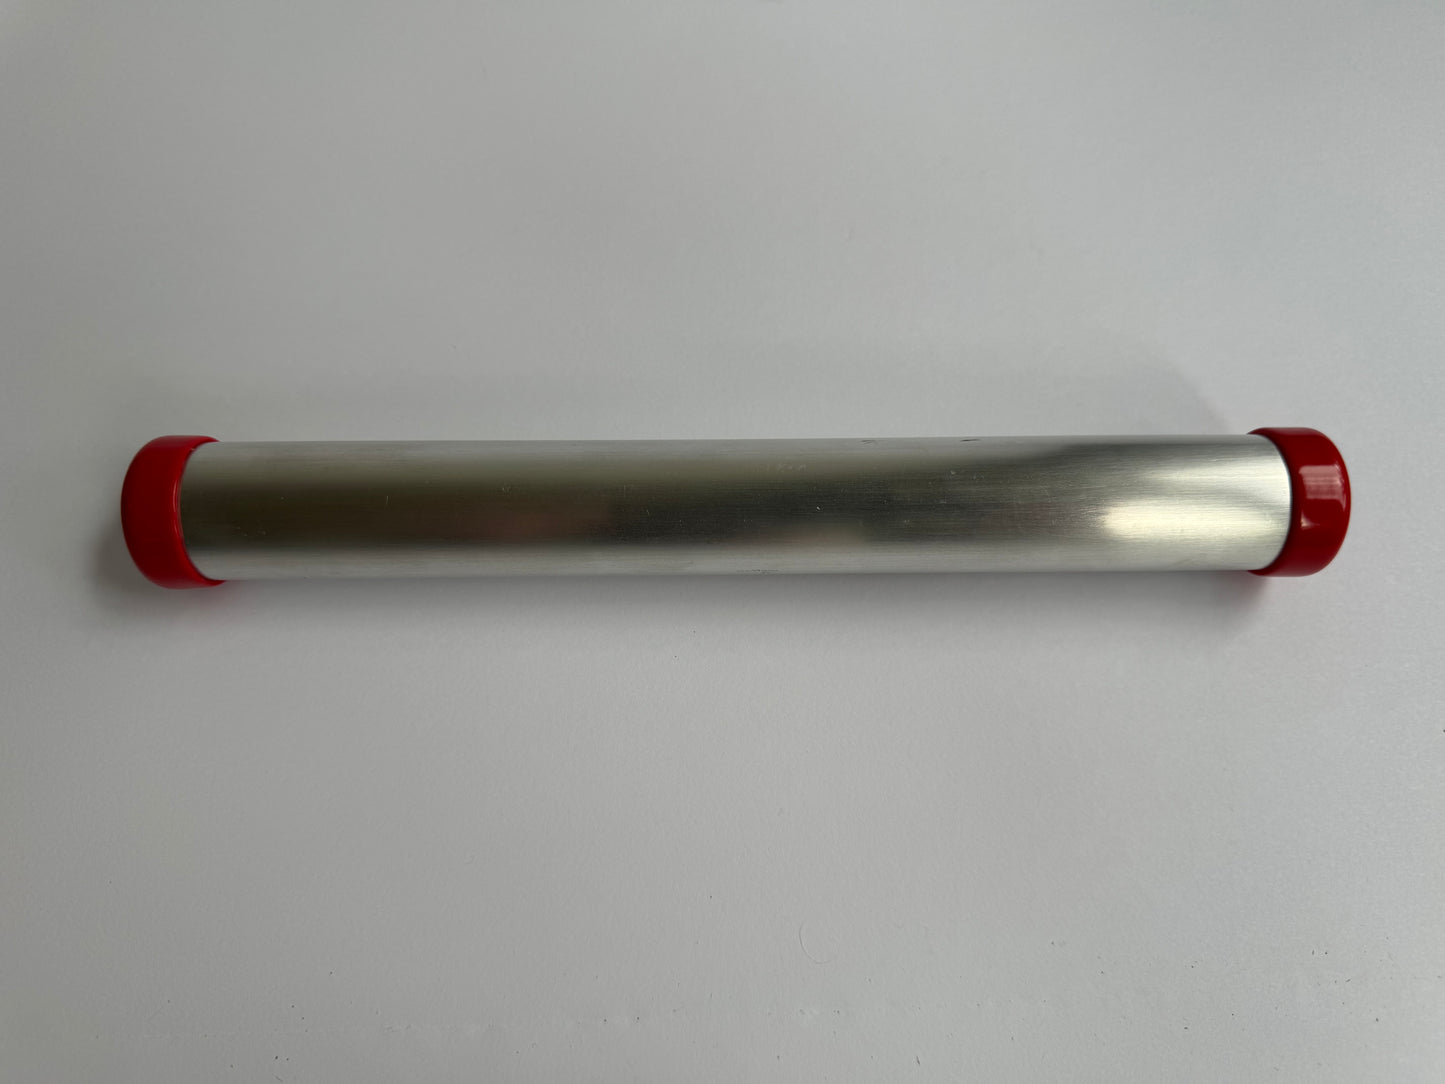
The Lite Saber can be assembled in seconds and the blade stores safely in handle when not in use. 1" diameter handle offers a secure, comfortable grip, yet packs away easily. Uses standard sized reciprocating saw blades - Replacements can be purchased at most hardware stores.
Ships with a second red cap that can be used to make the saw buoyant.
Bi-Metal blades are lighter, more flexible and less expensive to replace. Carbide blades are slightly heavier, but the blades are more rigid and typically last much longer.
There are two methods for storing blade in handle:
- Capped: Red cap used to retain blade inside handle
- T-Handle : Ditch the cap (0.11oz) and use tension to secure blade in handle
Specs / Materials:
| Size |
Blade Type |
Weight (Oz.) | Diameter x Length |
| 9" | Bi-Metal | 3.5 | 1.1" x 9.5" |
| 9" | Carbide | 3.9 | 1.1" x 9.5" |
| 12" | Bi-Metal | 4.5 | 1.1" x 12.5" |
| 12" | Carbide | 5.1 | 1.1" x 12.5" |
Above weights include 1 red cap (0.11oz)
- Handle : 6061-T6 aluminum
- Tightening Rod : 7075-T6 aluminum
- Tensioning cord : 100% Dyneema, 650lb strength
- Bi-Metal Blade : Diablo Bi-Metal Pruning, 5 teeth per inch (silver)
- Carbide Blade : Diablo Carbide Pruning, 3 teeth per inch (red)
How to Use
How to Use
Assembly
- Remove red cap
- Remove blade and attached cord / rod from inside handle
- Drop the cord / rod through slotted end of handle
- Ensure blade is seated firmly in the slot
- Use tensioning rod to twist cord until tightened
- Ensure blade is held firmly in place. When properly tightened the cord will not attempt to unwind
Use
- Use gentle pressure to start a groove in wood
- It's recommended to use lighter pressure on the push stroke to avoid bending blade. If blade does bend, simply bend back into place (carefully)
Disassembly
- Turn the tensioning rod opposite direction to loosen the blade
- Safely remove blade from handle
Storage
Option 1 - T Handle
- Insert point of blade into handle while allowing the tensioning rod to pass through the hole at opposite end of handle
- Tighten the tensioning rod enough the secure blade in handle (no need to overtighten). Take care that cord does not contact blade.
Option 2 - Capped
- Pack blade, cord, and tensioning rod inside handle. (See below picture)
- Replace red cap to keep contents in handle

Wrap cord around tensioning rod before storing in handle
Blade Replacement
Blade Replacement
- Important : Care should be taken not to fray or damage the tightening cord when changing blades
- Remove blade / cord combination from inside handle
- Use pliers to open quick link
- Remove old blade and Install new blade (no need to remove or untie cord)
- Replace quick link - ensuring it snaps into place
Warranty / Disclaimer
Warranty / Disclaimer
Warranty
All of our products come with a 1-year limited warranty covering functional defects in manufacturing and materials. Should you find any defect in the way your product has been built, we will repair or replace it at no charge. We will reimburse return shipping if the issue is found to be a defect per the terms of the warranty.
We encourage all of our customers to contact us if they are having any issues with our products. We want to know where we can improve.
Commercial use is not covered under the warranty. Accidental damage / wear and tear are not covered under the warranty, but our team will be happy to work with you to determine the cause and offer guidance.
Disclaimer
Exercise caution when using the Lite Saber to avoid injury - the blade is very sharp. Always inspect the saw before and during use to ensure it's functioning properly. Trail Ten is not responsible for any injury or damage that occurs from the use of the Lite Saber saw. We encourage customers to reach out with any questions about proper usage or repair / warranty needs.
Click here for full Terms and Conditions